 Who doesn’t love a good wedding reception?! Everyone gets a chance to let loose and celebrate, be it by gorging on the yummy wedding cake or busting out some moves on the dance floor. And don’t even get me started on the photo booth…it’s no secret that we love a good backdrop and we love a good bunch of photo booth props! But we all know that photo backdrops can sometimes get expensive. Luckily, they’re super easy to DIY! Using this tutorial from Gifts.com, you can easily make a fun backdrop using finged tissue paper, you just simply match it to your wedding’s colour palette!
 YOU WILL NEED:
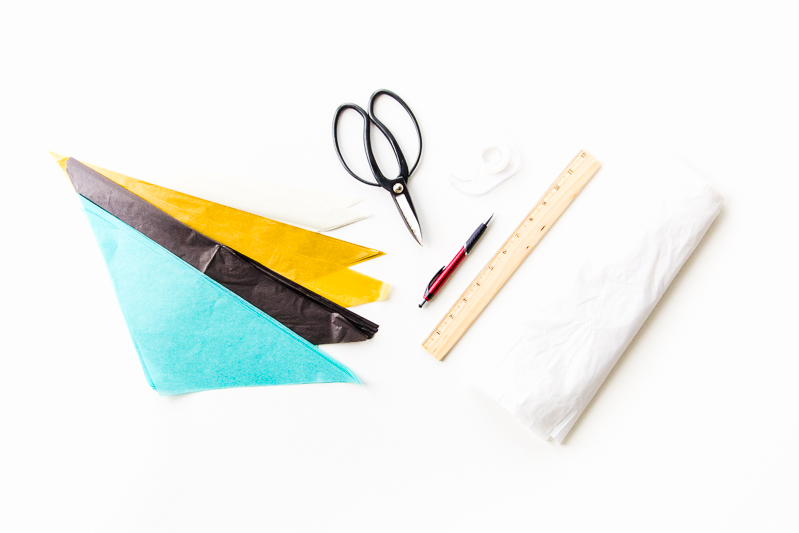
Tissue Paper // Scissors // Tape // Plastic table cloth // Ruler (optional) // Pen (optional) //
P.S If you want to know how to make your own photo booth stand then click here!
 STEP 1:
Once you’ve chosen your colours, cut out triangles from your tissue paper. Cut through multiple layers at a time to make this process faster. You can use a ruler to measure out your triangles, or create triangles in varying sizes.
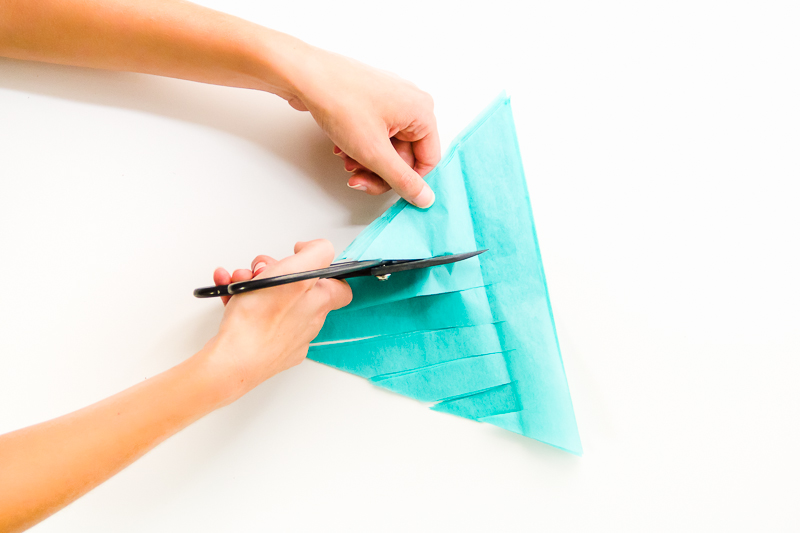
STEP 2:
Make vertical cuts in the triangles, stopping about one inch from the top. This will add texture to your backdrop
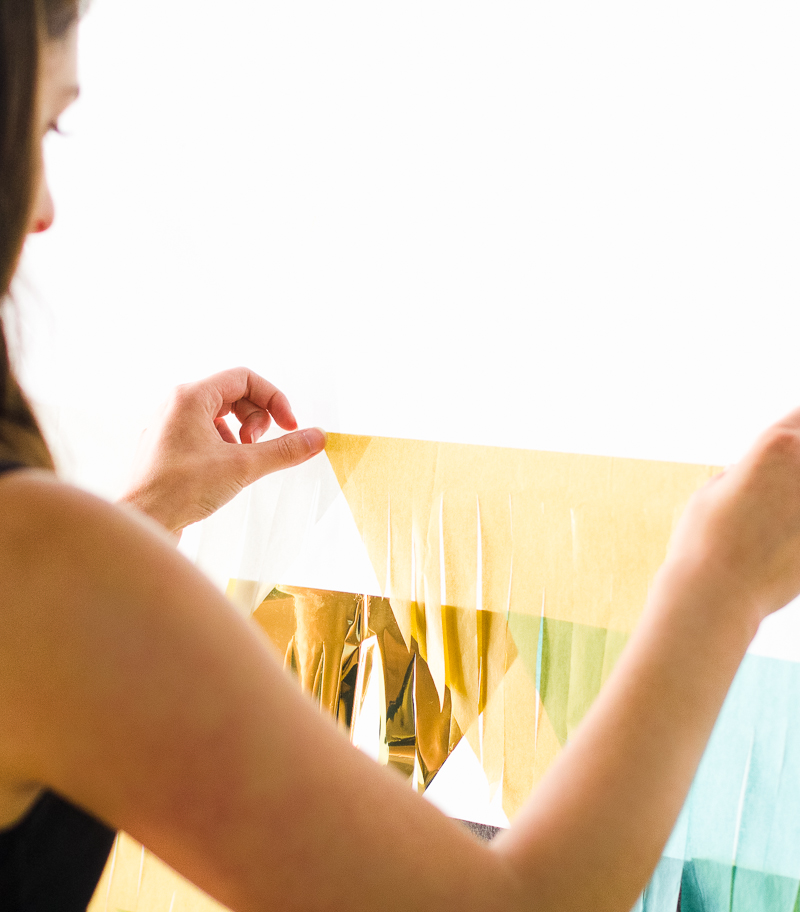
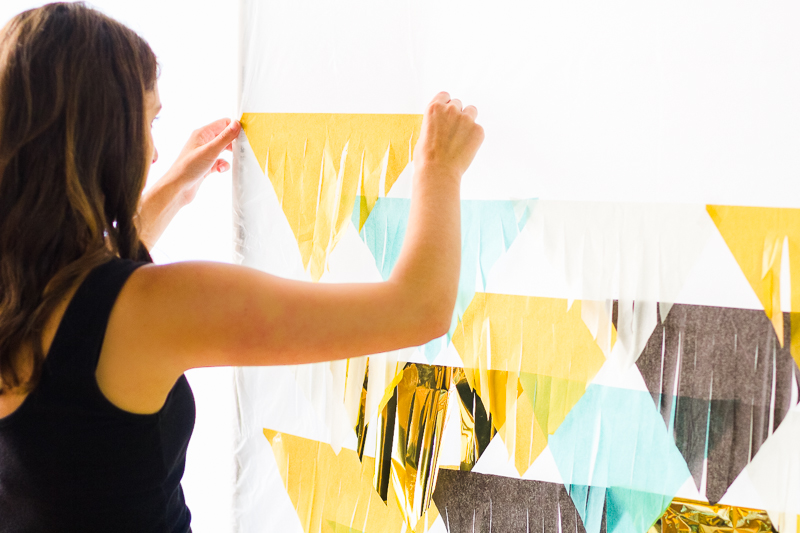
 STEP 3:
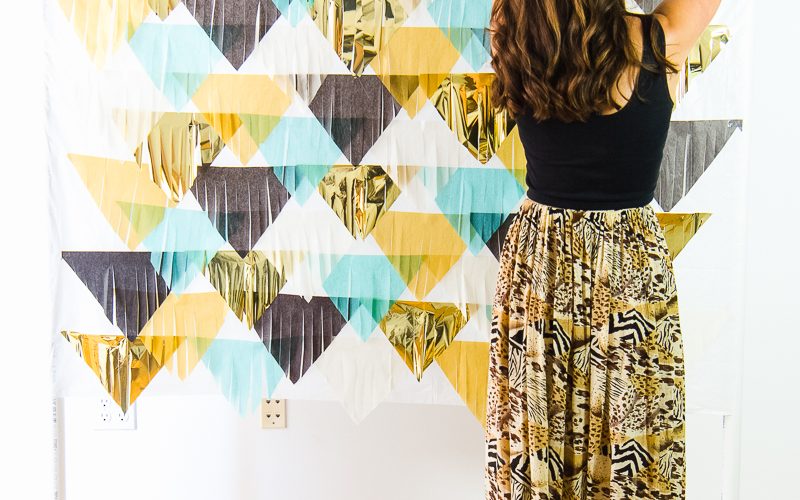
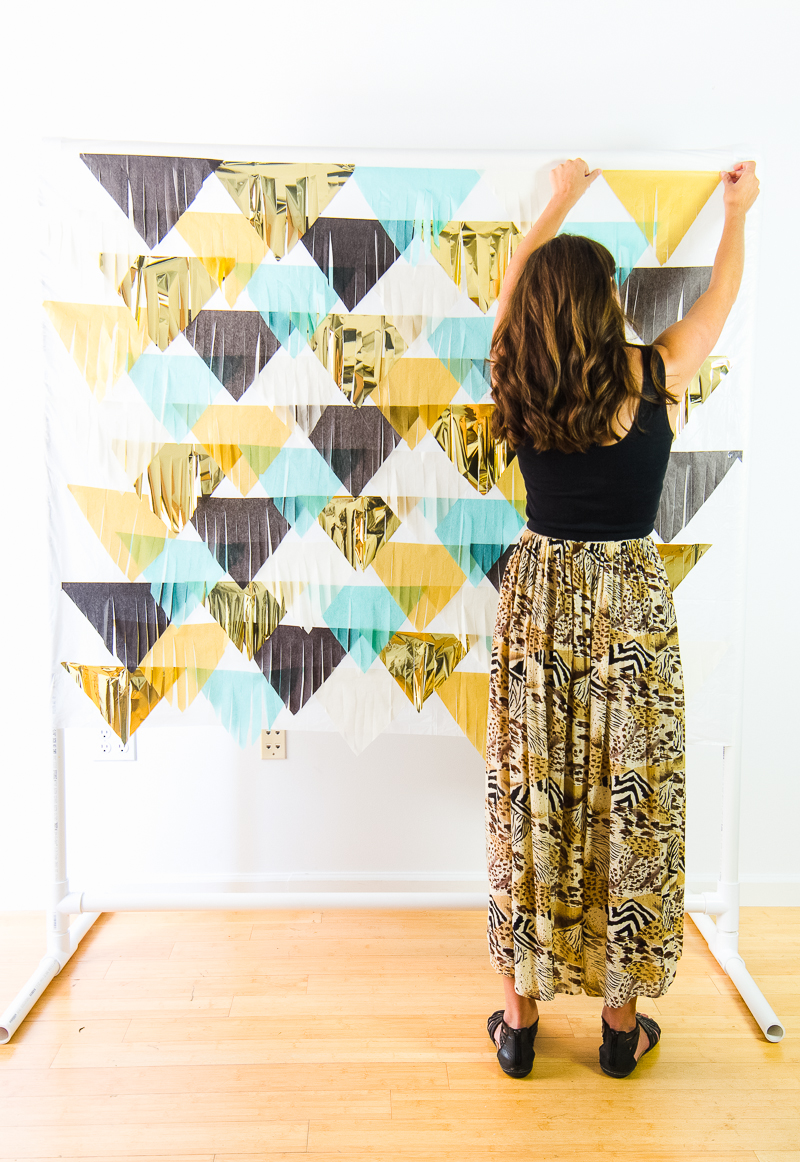
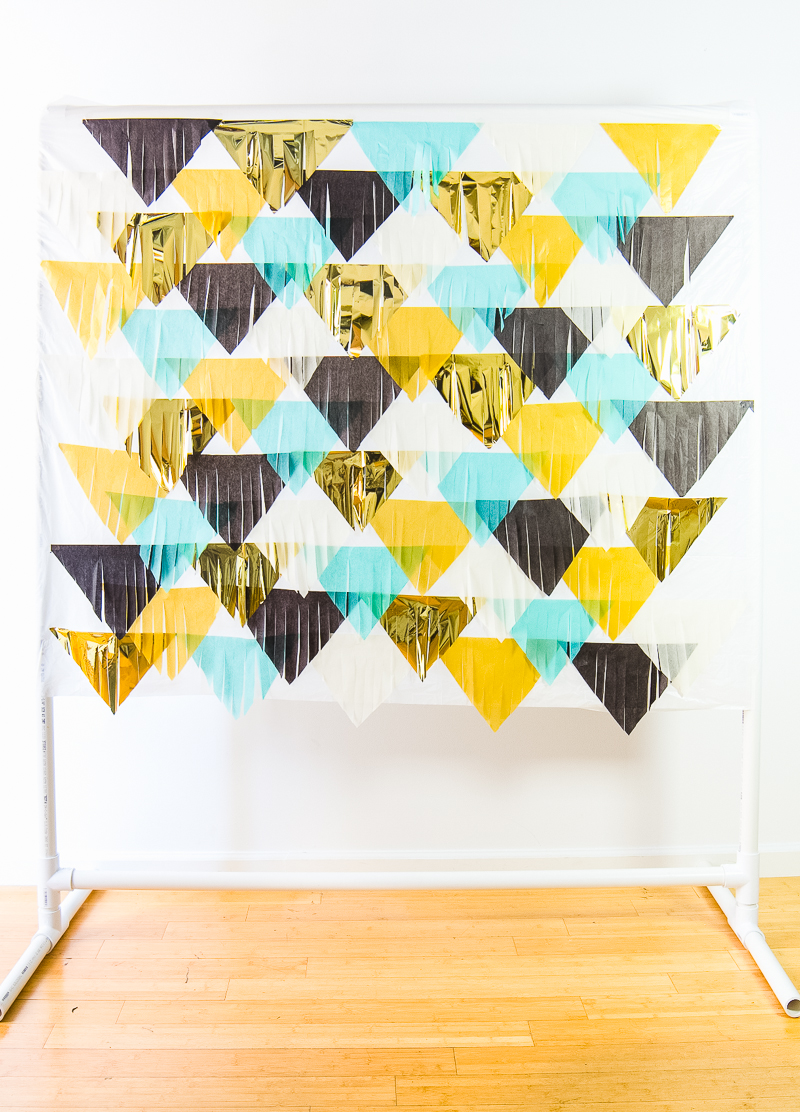
Tape the plastic tablecloth onto the backdrop frame. Then tape the tissue paper triangles to the table cloth. Start at the bottom of the backdrop, building up, so that the triangles overlap. Use double sided tape if you want to avoid the tape’s reflection coming through in pictures.
 STEP 4:
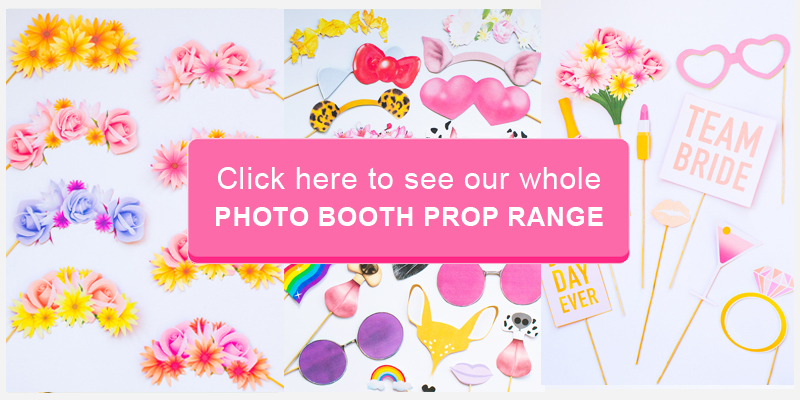
Finally all that’s left to do is practice your posing and get ready to snap some fun shots! Don’t forget the photo booth props either, we’ve got a whole range of printable props here! xx


Add comment