
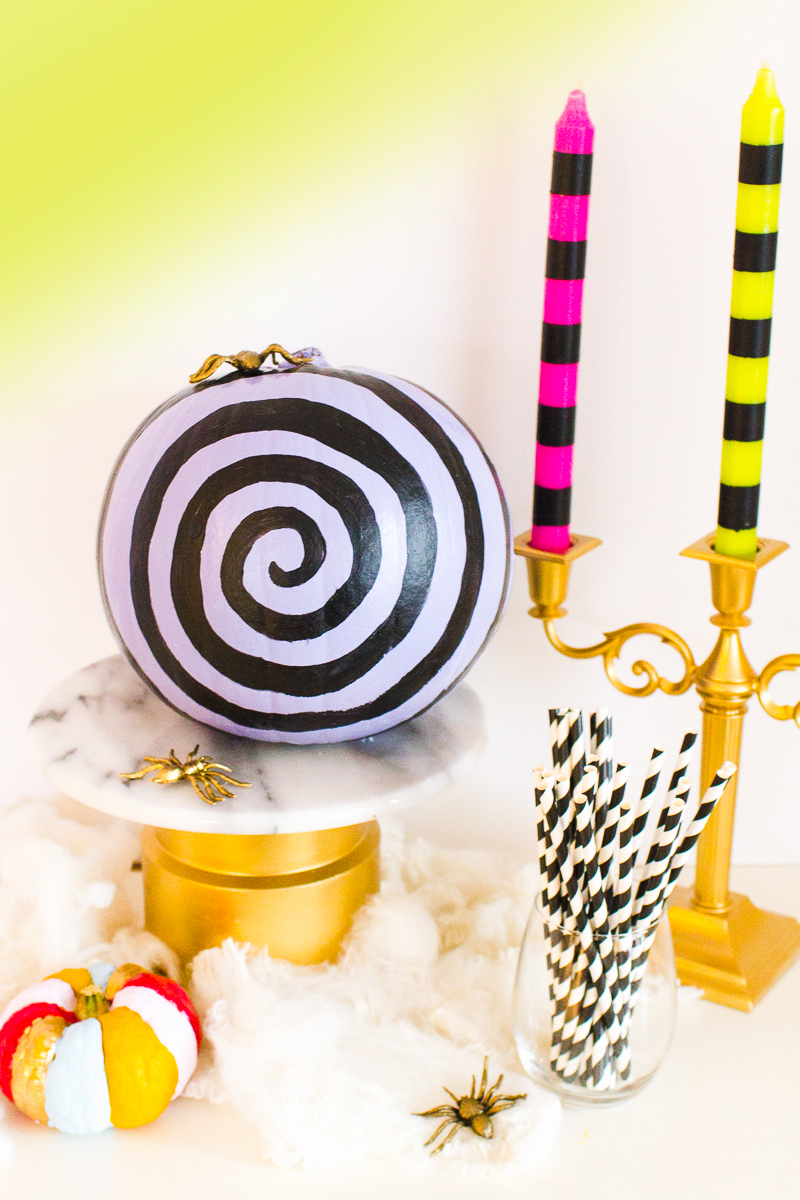
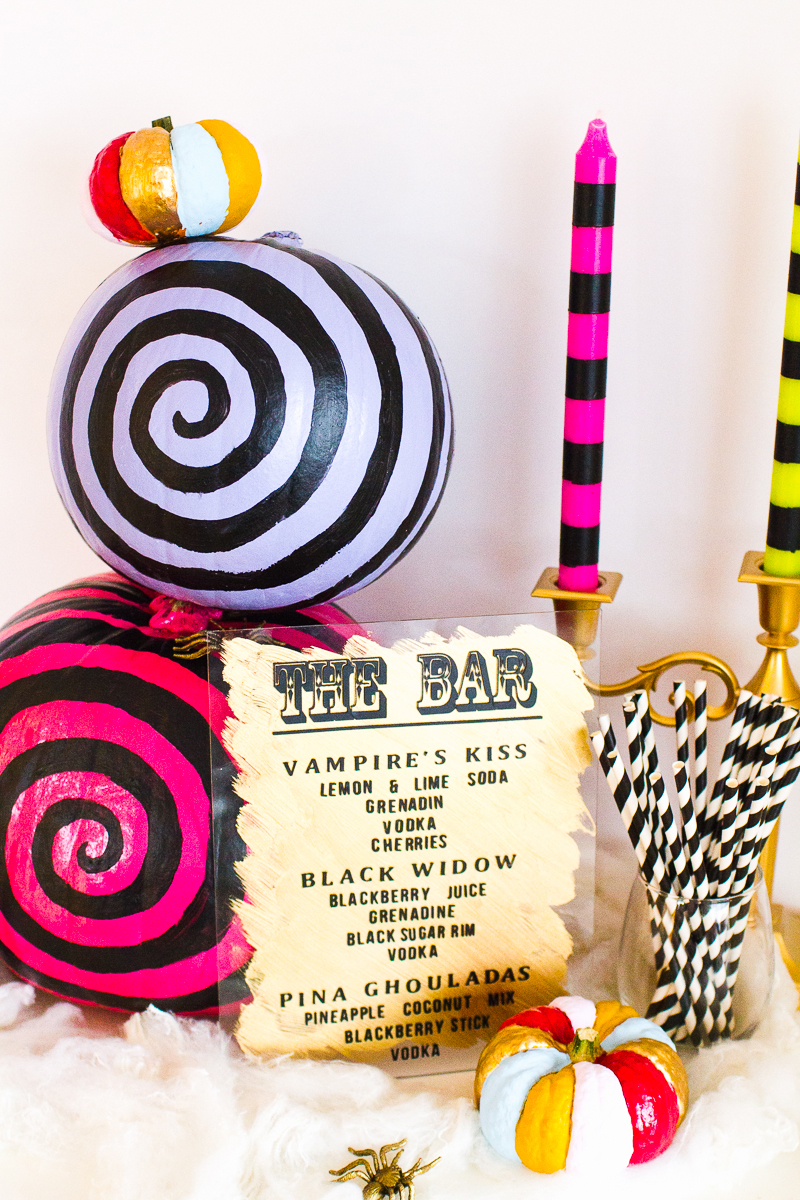
 One of the things I love most about Tim Burton is that if you’re watching one of the films he’s directed or produced you can instantly tell it’s his work without even knowing, one of the classic traits are those swirly spirals that sometimes pop up in his films and I absolutely love them in Nightmare Before Christmas! I thought it would be fun to create some no carve pumpkins with these spirals on as a little nod to the classic Halloween film (it’s one of Em’s favourites!). These would look fab sitting out on the porch or displayed on cake stands at a Halloween party!
 YOU WILL NEED:
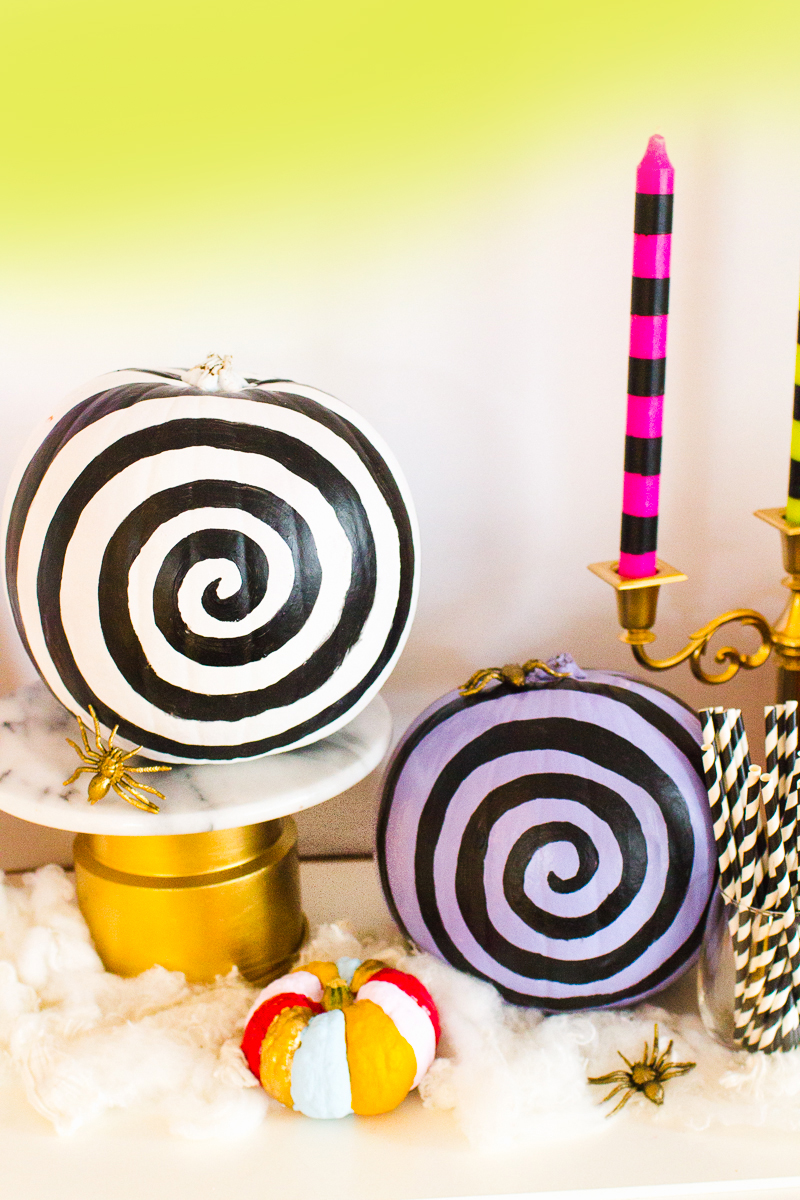
Spray paint in the colours of your choice (we went for white, a shade of berry and lilac. All from Rustoleum) // Black acrylic paint // A pencil // A small paint brush //
STEP 1:
Spray paint each of your pumpkins the colours you have chosen and allow to fully dry. You’ll want to make sure you do this two or three times to make sure that the pumpkins are completely covered.
STEP 2:
Using a pencil, draw the outline of the spiral on one side of your pumpkin, stopping when you get half way. Don’t worry if it’s wobbly, it will be tricky with the texture and surface of the pumpkin but that’s ok, I think it adds to the whole ‘Tim Burton’ feel! Once you’ve done one half of the pumpkin, repeat on the other half.
 STEP 3:
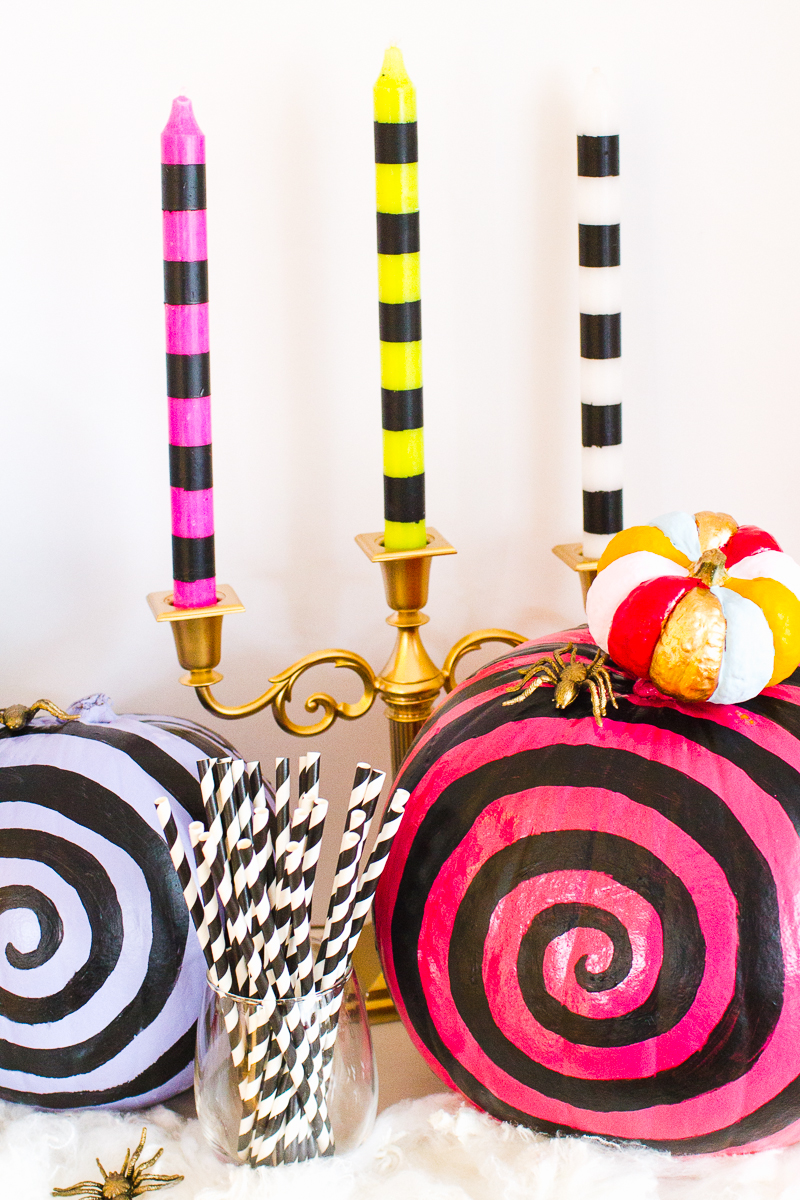
Now it’s time to start filling in the spiral, grab your paint brush and your black paint and simply fill in where you drew the pencils mark, making sure to smooth over the edges as much as you can.
STEP 4:
Allow the black paint to fully dry and go over any rough edges if you need to. I found that only one coat of black was fine, but if you feel you need to add two then go ahead!
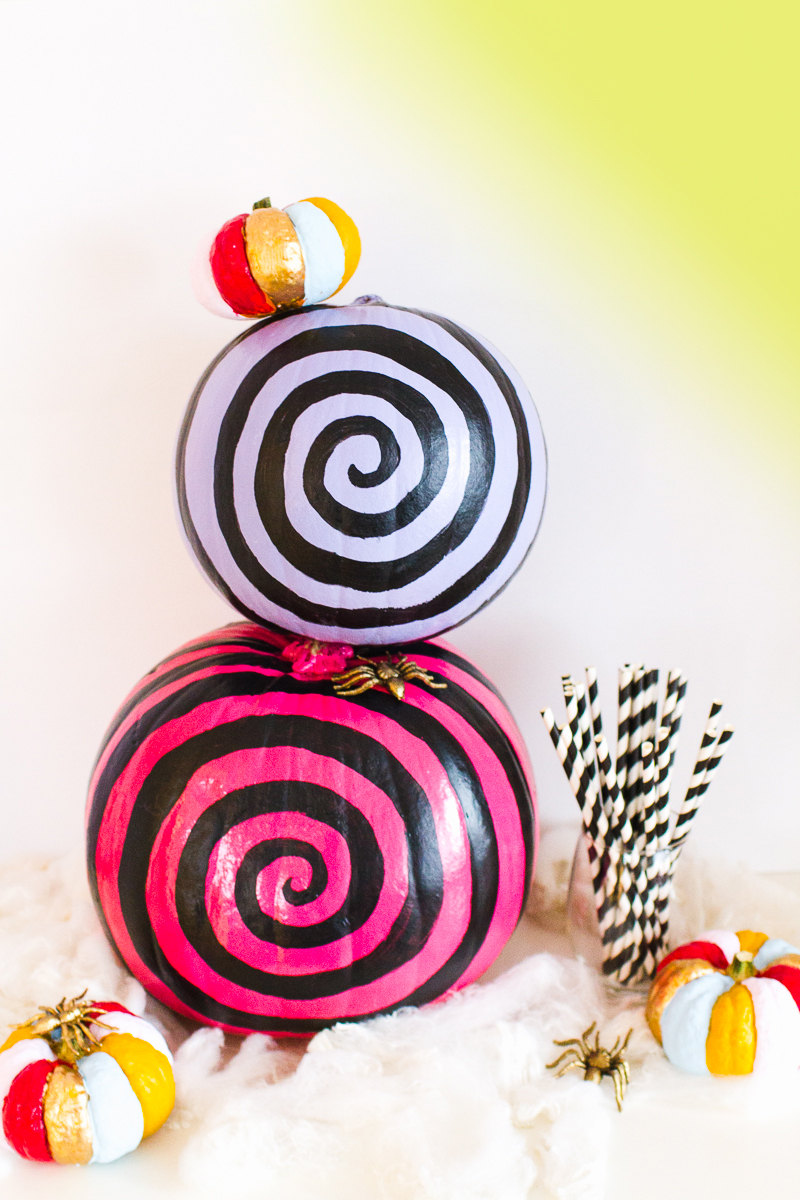
 And that’s all there is it to it! So fun right?! I love how they turned out! Be sure to check back tomorrow too where we’ll be sharing all of the photos from our murder mystery party on the weekend! xx


Add comment