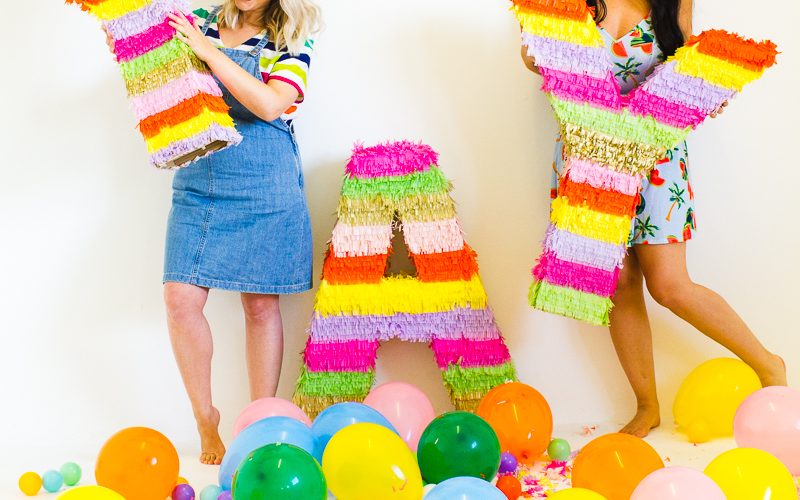
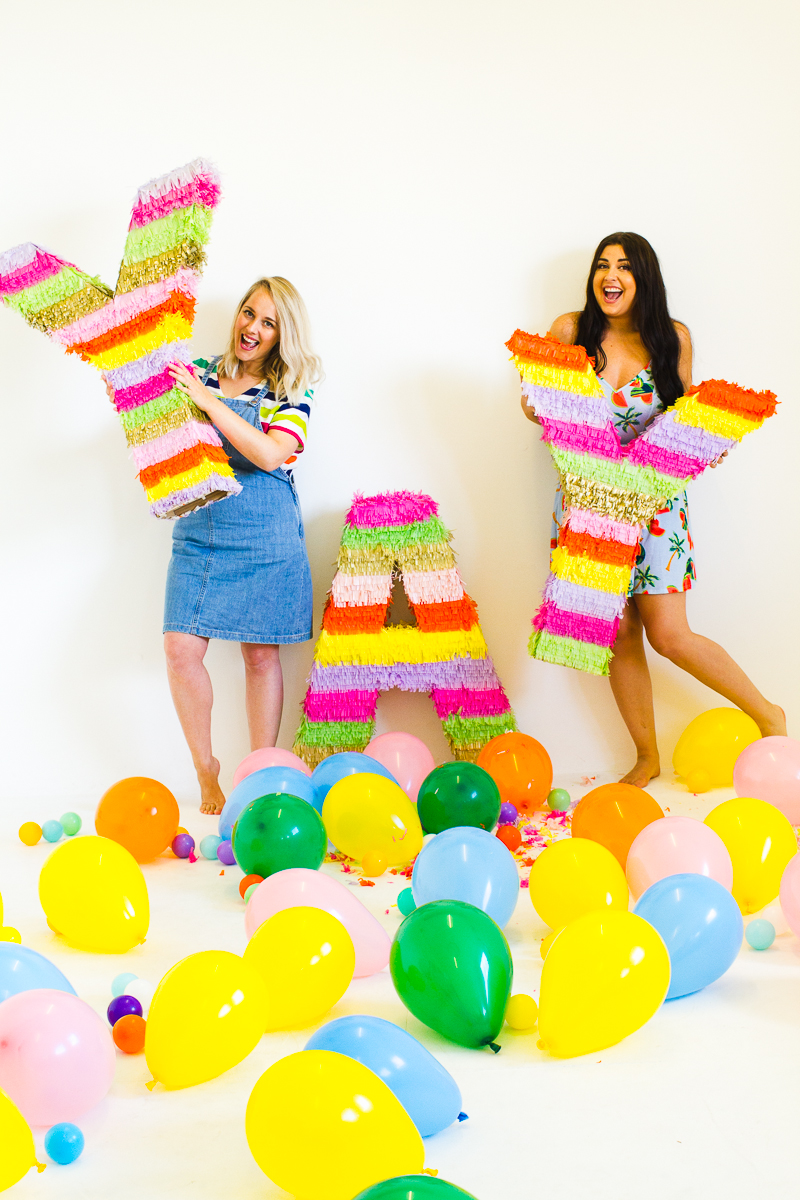
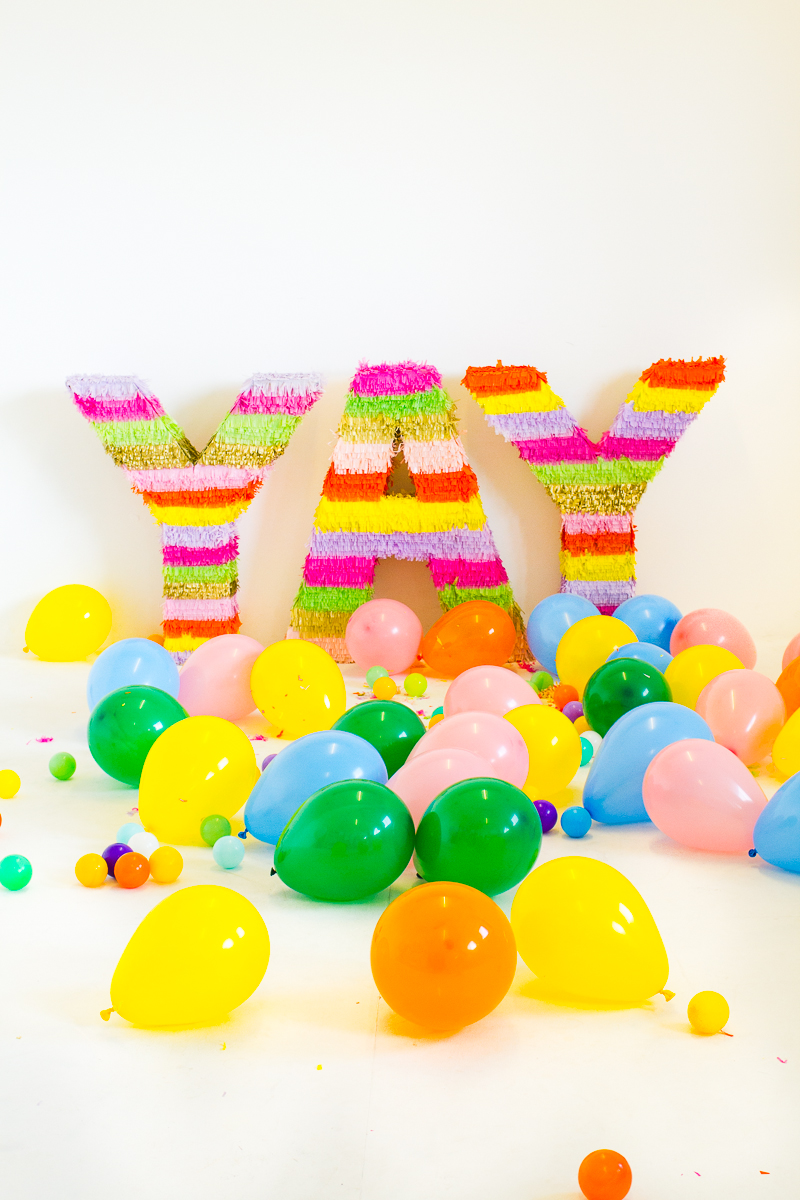
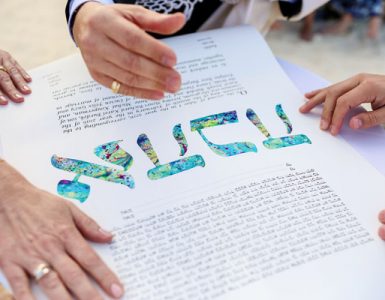
 It feels like it’s been so long since we created anything Mexica themed?! It’s no secret that me and Em both love Mexico and I really wanted that style to come through in today’s DIY! These are giant free standing letters which would make awesome decor at a wedding, they could quite easily be turned into piñatas too if you left an opening during the creation process to fill the letters up with sweets! Let’s get cracking shall we?
 YOU WILL NEED:
Large pieces of cardboard // Crepe paper/tissue paper // Fringing scissors (or normal scissors) // Masking tape/craft tape // A glue stick // Stones //
STEP 1:
Start by cutting out the shapes of your letters, I decided to make the word YAY but you could use your initials, the wedding date, the word LOVE or whatever you liked really! You’ll want to cut out two identical shapes of each letter.
STEP 2:
Cut out strips for the sides of your letters, I sized mine 5 inches wide.

 STEP 3:
Next, assemble your card board letters and secure in place with your tape. Leave a small gap and add in your stones to make sure the letters are weighed down and base heavy. Then tape up the gap.
STEP 4:
Time to get started on your tissue paper! I cut mine into 2 inch wide strips then fringed them using my scissors, you want to do this with all of your colours until you have all of the strips ready.
 STEP 5:
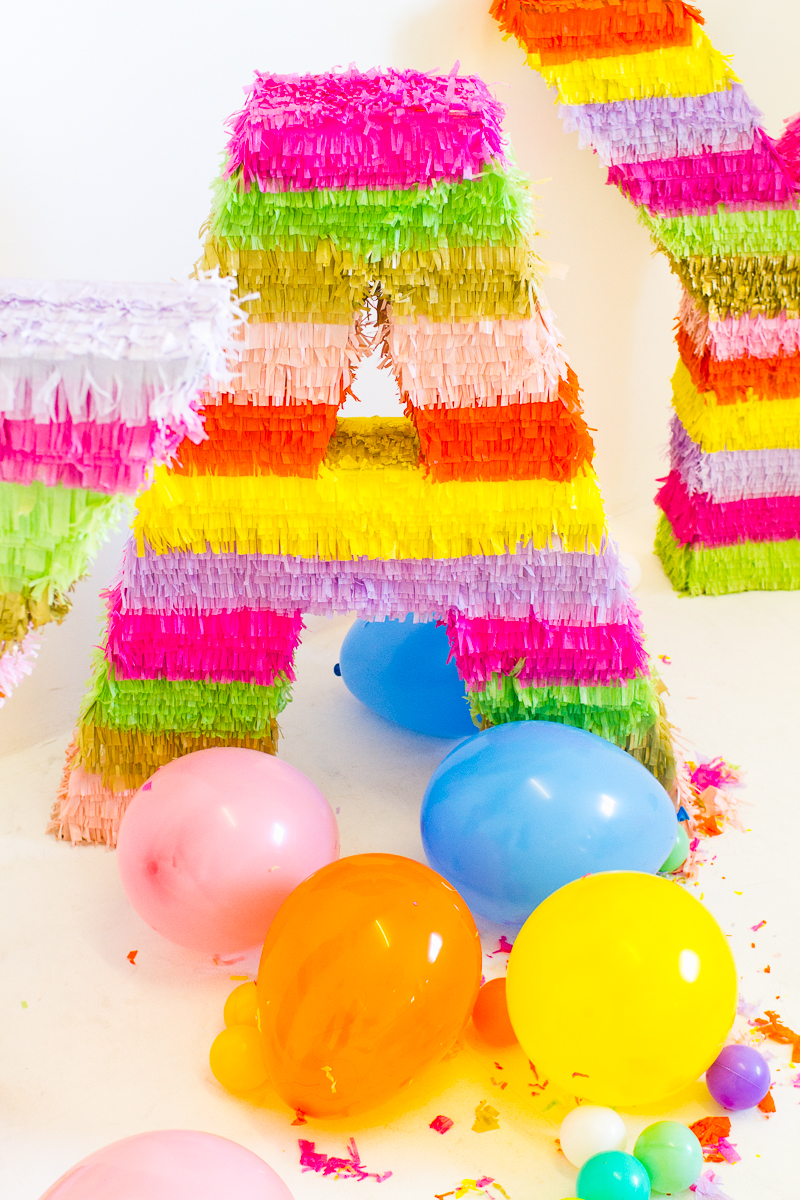
Next grab your glue stick and start adhering your fringed tissue paper to one of your letters. You’ll want to start at the bottom and work your way up, overlapping the tissue paper as you go so you can only see the fringed parts.
STEP 6:
Once you’ve covered your entire letter, repeat these steps on your other letters until all of them are complete!

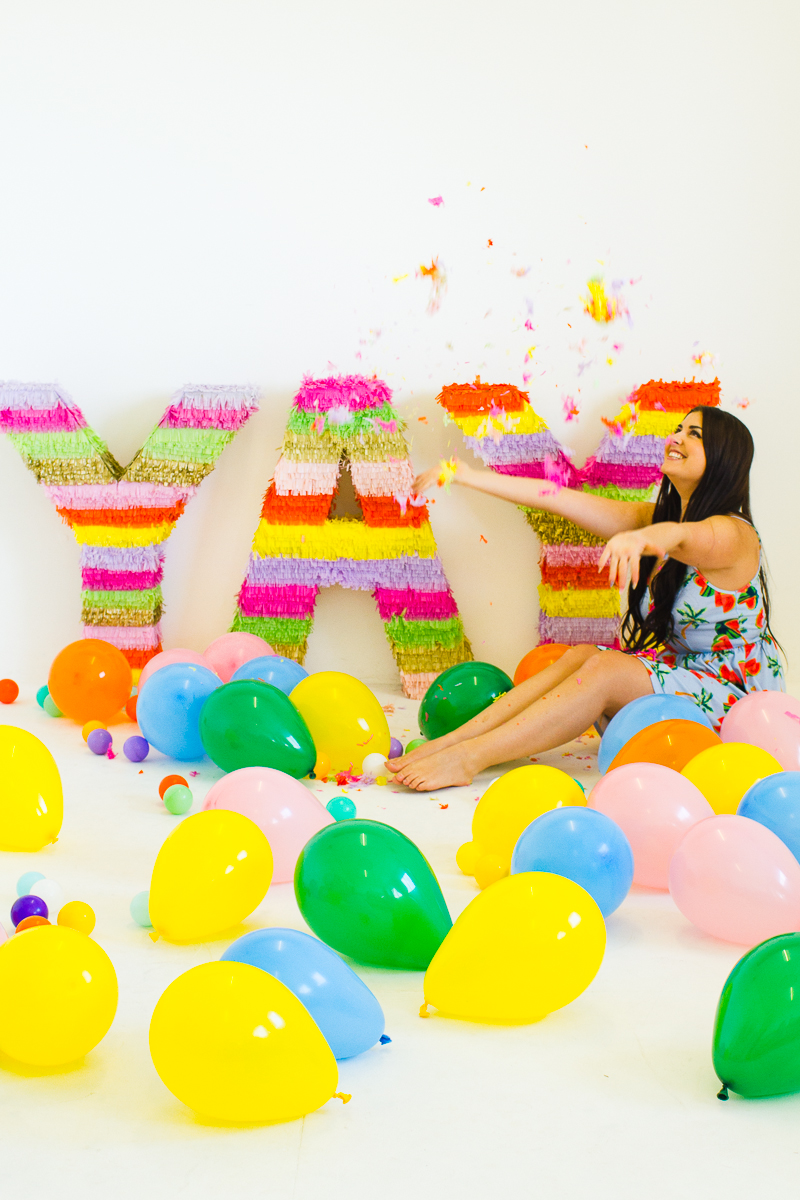
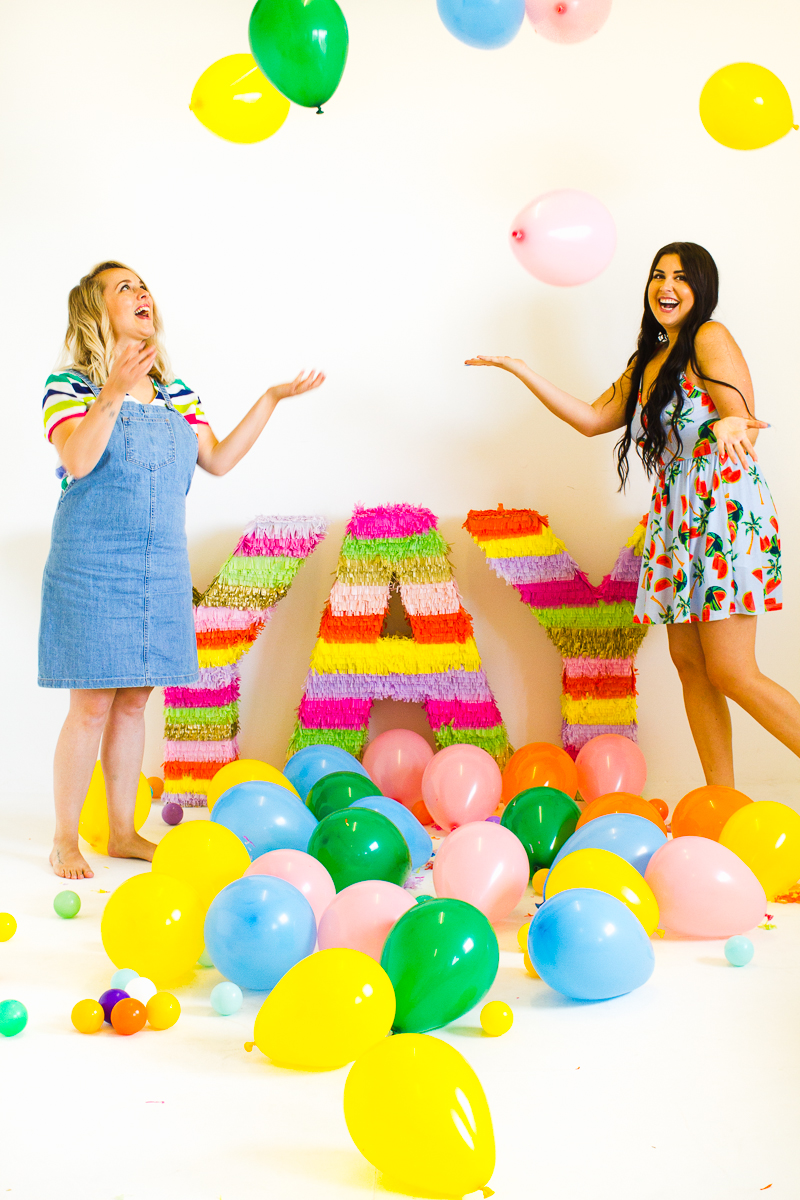
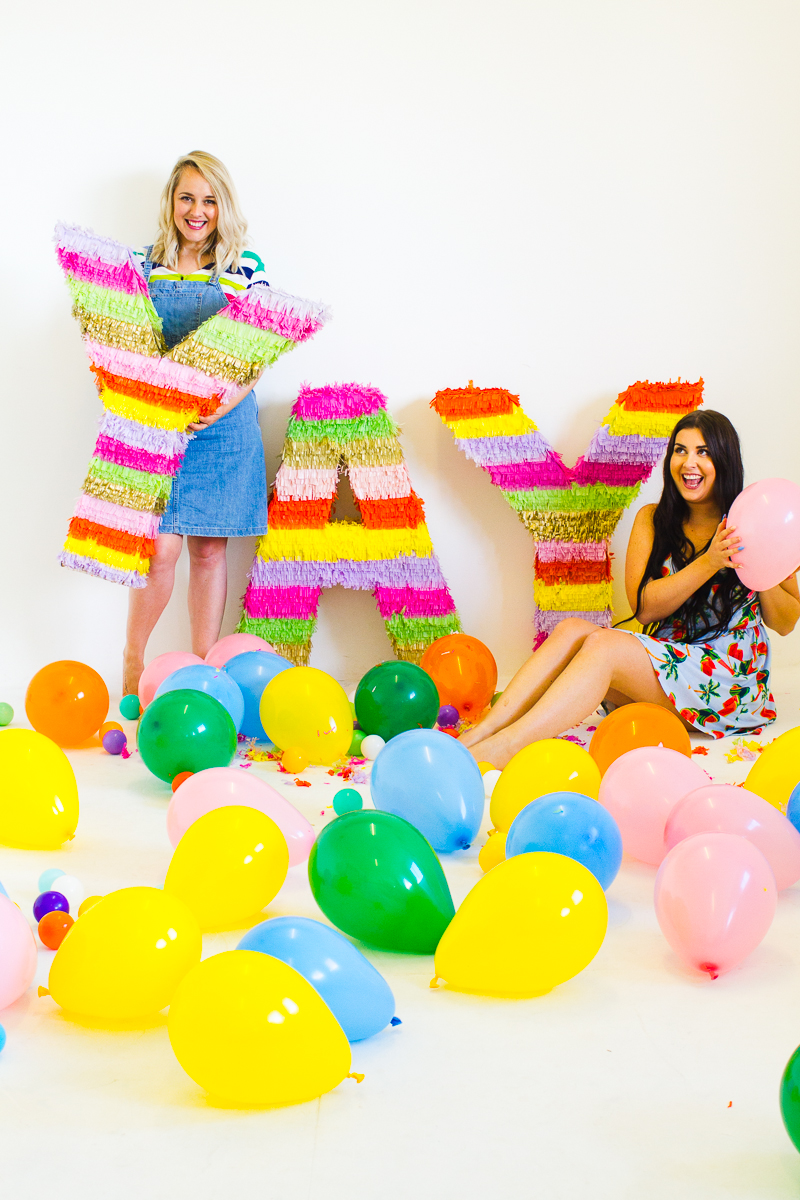
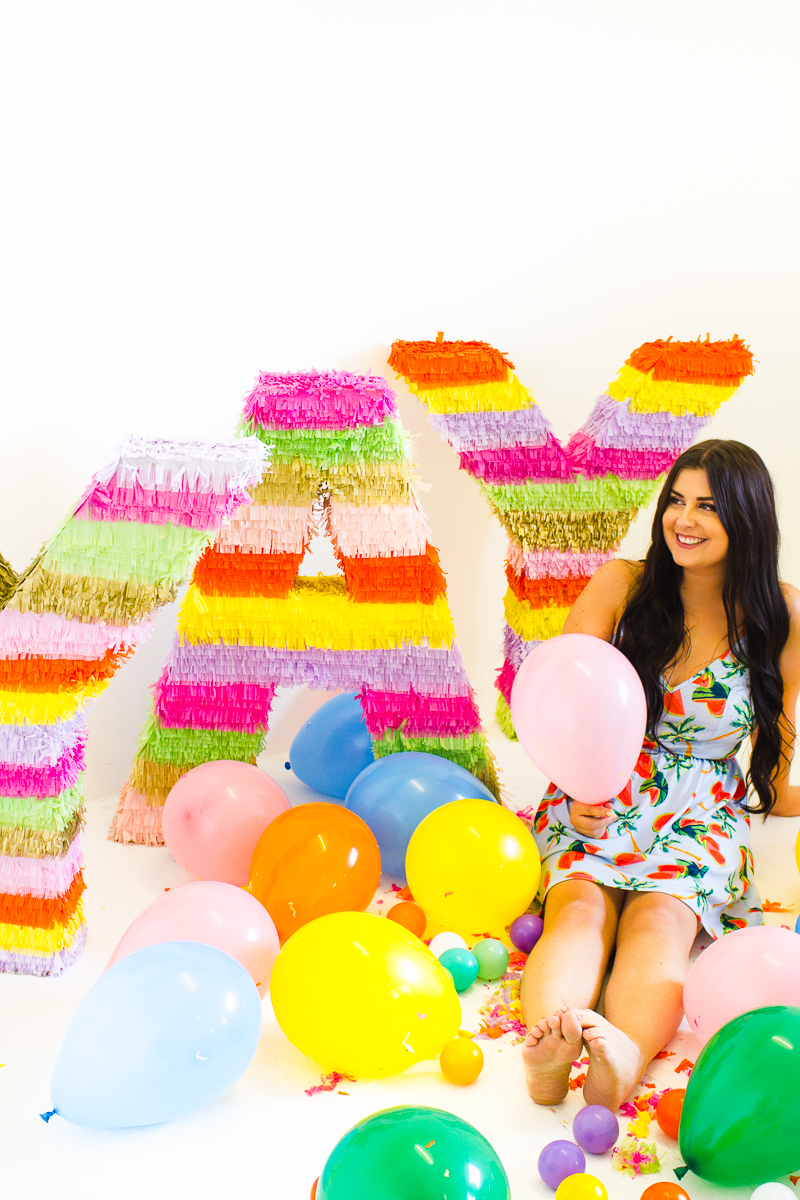
 BAM! Giant Mexican letters done! And how fun do they look?! They’d make fab fiesta props in your wedding photos and not to mention they’re super easy and cheap to make! Happy crafting ya’ll! xxx


Add comment