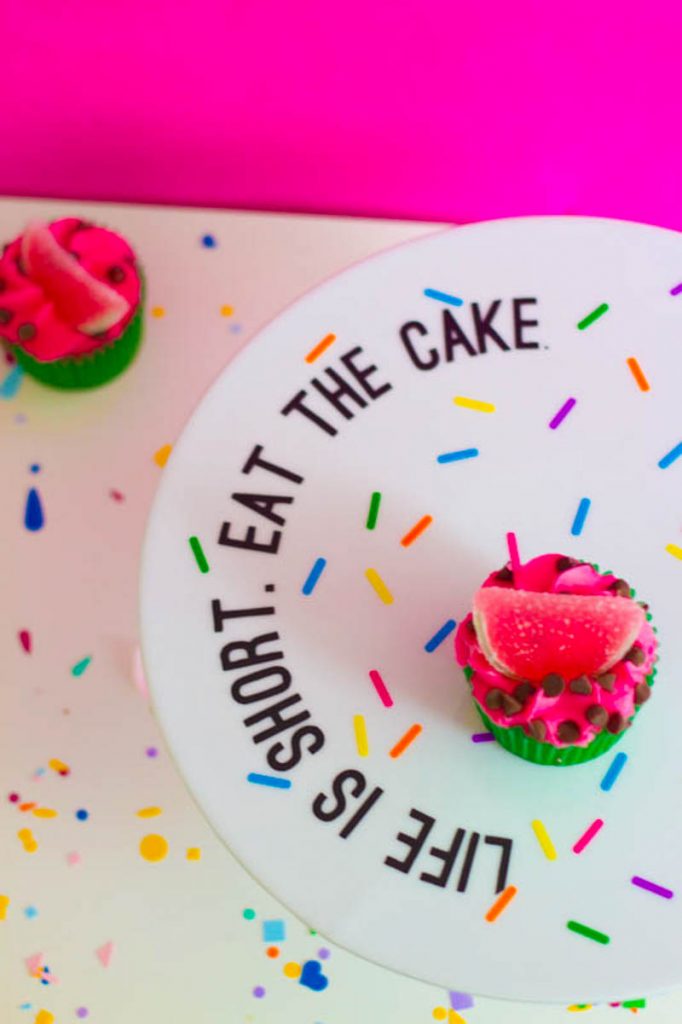

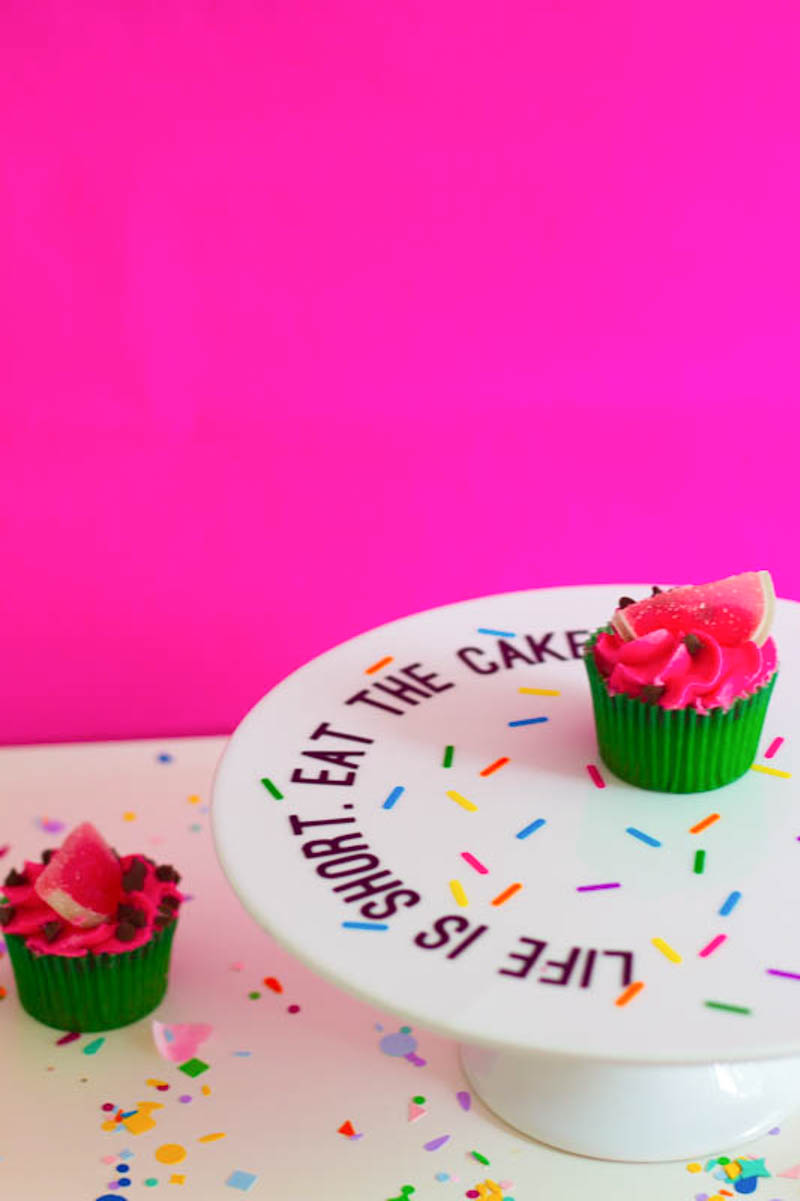
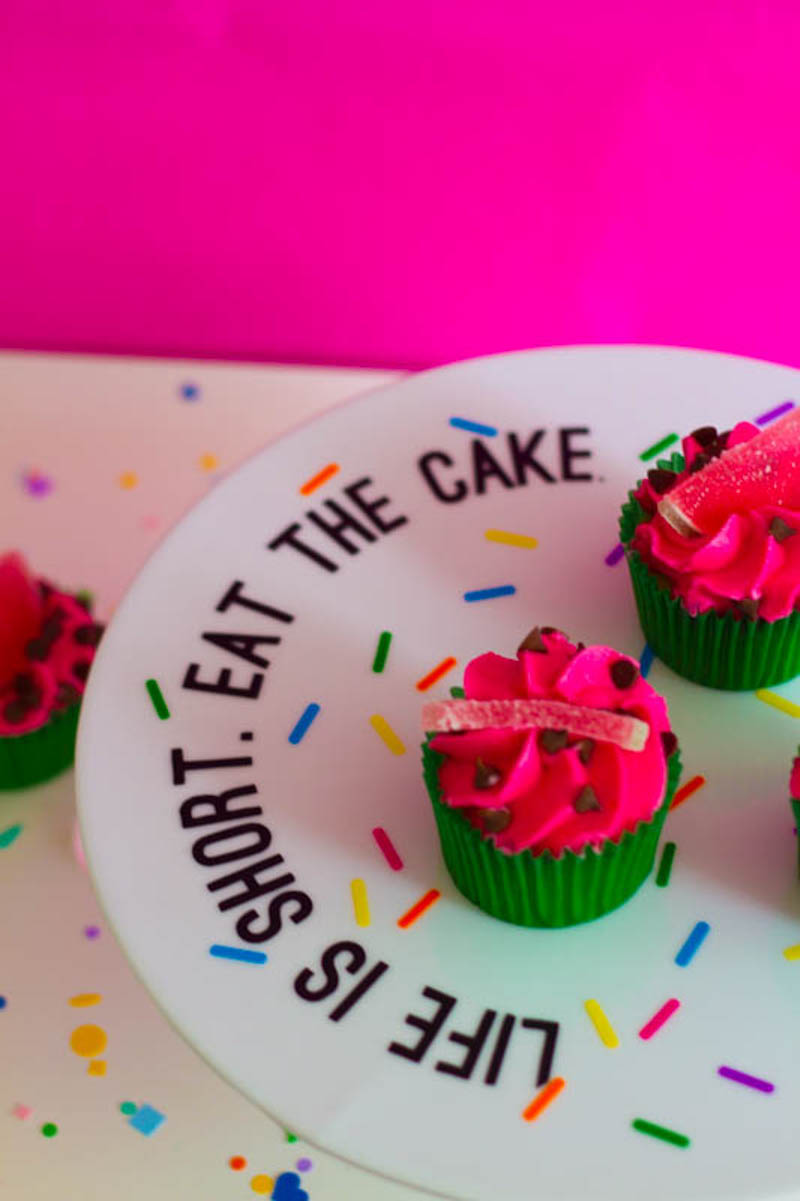
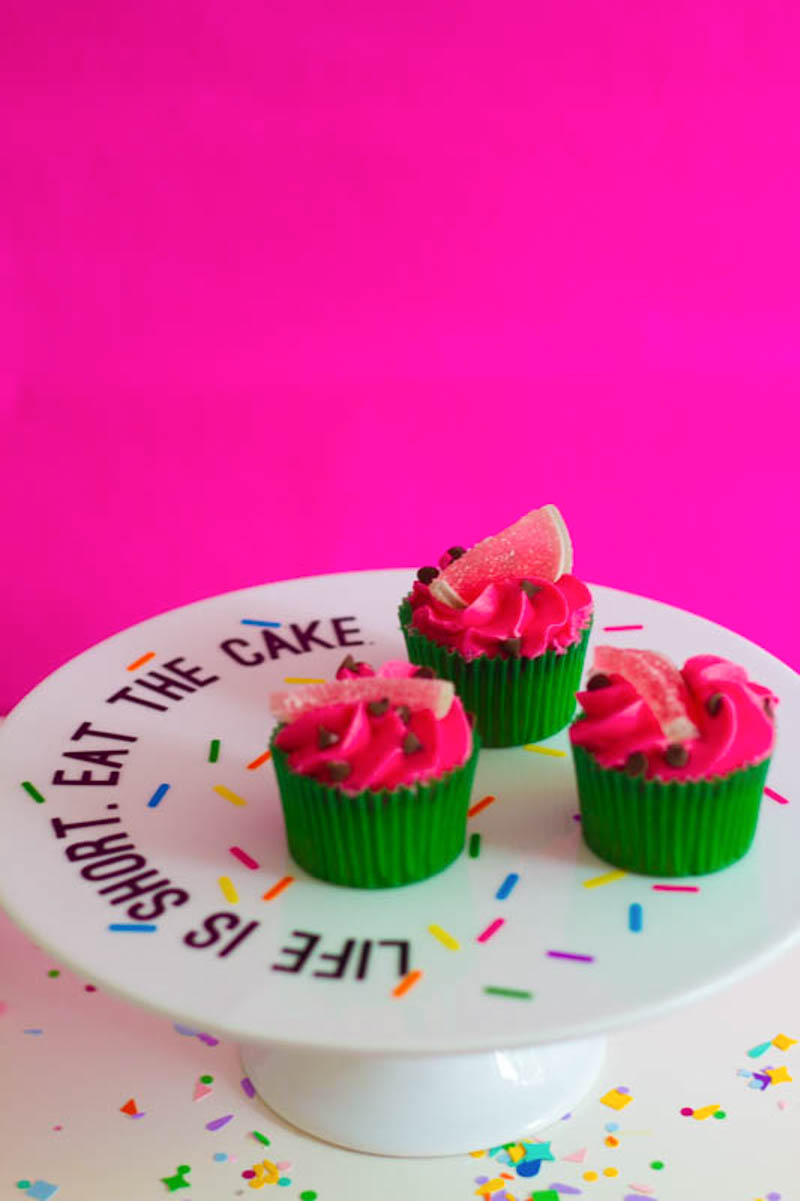
I don’t need too much encouraging when it comes to eating cake, in fact today’s DIY is just about all the encouragement I would need. I mean who could turning down cake with permission like this? Here’s how to turn a boring old plain white cake stand into a stand with some serious sass!!
Go on, you know you want to!!
YOU WILL NEED:
Plain White Cake Stand | Orange, Purple, Yellow, Green, Pink, Blue & Black Vinyl | Cricut Explore | Life is Short. Eat the Cake. Jpeg | Transfer Tape |
STEP 1:
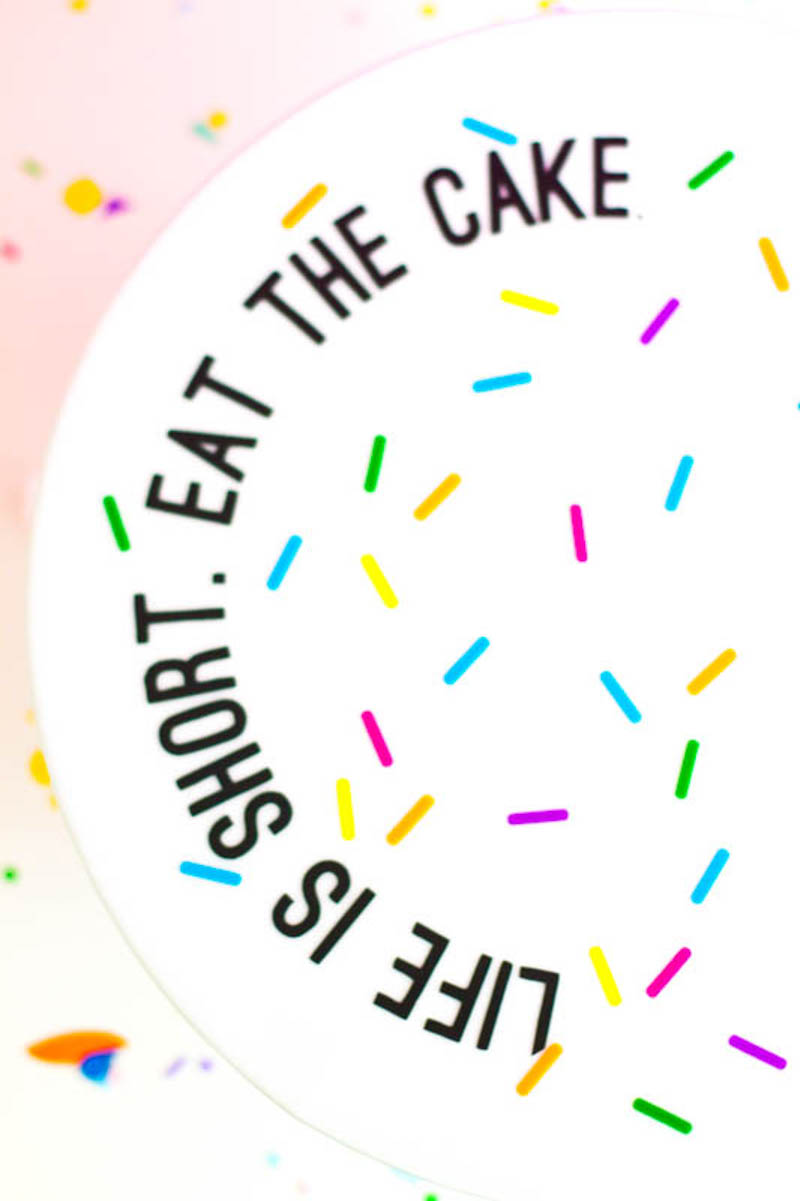
Upload the the ‘Life is Short. Eat the Cake. Jpeg to your Cricut Design space. Resize to fit your cake stand, ours was 11 inches in diameter.
STEP 2:
Place your black vinyl on a standard grip mat and follow the instructions for cutting out your quote.
STEP 3:
Weed out the the negative space on the design leaving behind only the letters, then cut a piece of transfer tape, large enough to cover the quote and place over top, rubbing firmly over each letter. Now carefully lift the design from its original back and place wherever you would like on your cake stand. Again rub over each letter firmly to ensure the letters stay in place, then gently remove the transfer tape, leaving just the quote on the stand.
STEP 4:
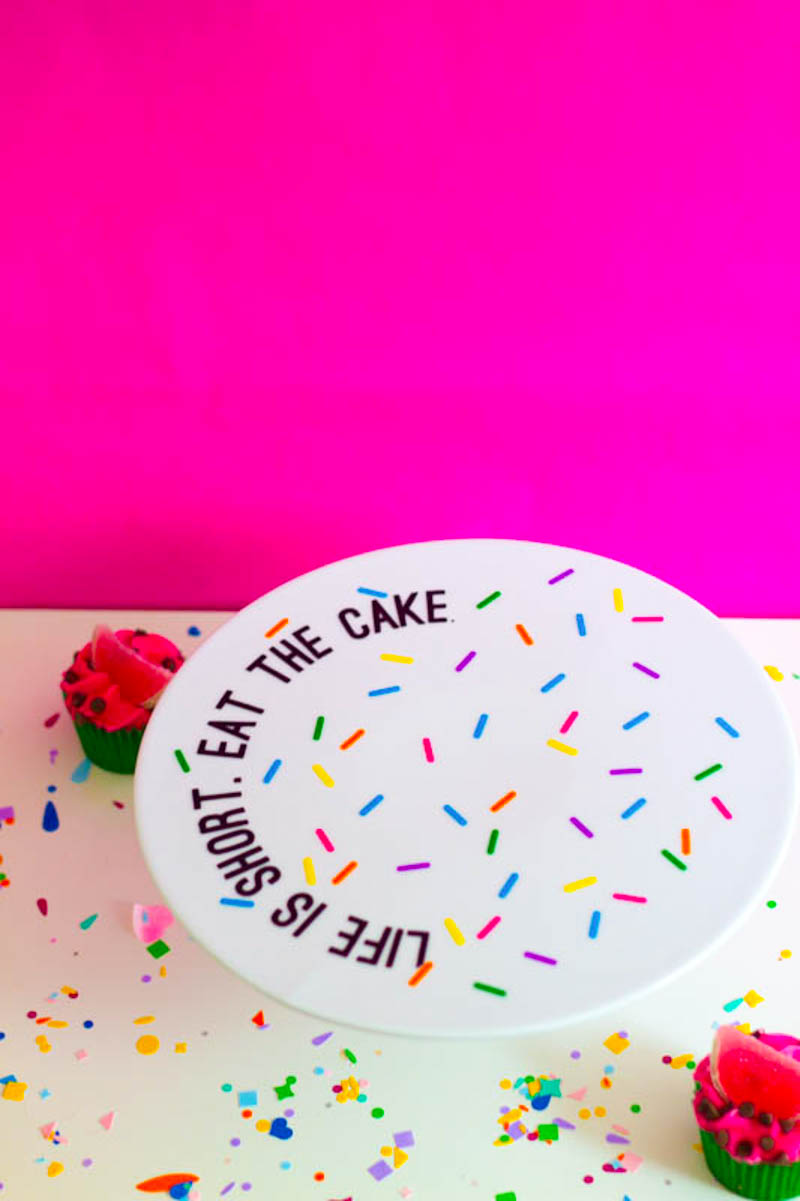
Now create a new project in the Cricut Design Space and search for Studio DIY’s Cake Sprinkles, No: #M4D74A in the pre-loaded images section. Add this to your Design space.
STEP 5:
Using the same process as before and using your assortment of coloured vinyls, place them on your mat and follow the instructions for cutting.
STEP 6:
Once you have cut out an assortment of different coloured sprinkles, weed out any negative space then pick up each sprinkle and place it wherever you would like on your cakes stand. No need to use the transfer tape this time as you want their placement to look random!
This would be perfect for any event where there is sure to be cake! I mean who could turn this down! It’s literally being spelled out for you!
Show us your DIY’s by using the hashtag #BespokeBrideDIY on Instagram and follow us on Pinterest for more Wedding & event DIY inspo!
xxx


Add comment