 Oh boy do we have a sugary treat for you today! Kristen from A Girl and Her Glitter is back with the very sweetest of seating plans today! In case you missed her last DIY you can check it out here, (it was an amazing unicorn pumpkin!) Anyway, back to today’s tutorial, if you’ve got a bunch of guests who have a sweet tooth then they’ll be sure to love this seating plan! They can find their way to their seats and get their favours all in one go, not to mention how awesome is the burst of colour?! If you want to know how to recreate this then read on…
 YOU WILL NEED:
Cricuit Maker (or another Cricut machine) // Sugarfina Candy // Cricut Holographic Vinyl // Wood board // Magnets // Vinyl of any choice // Magnetic Board //Hot Glue/Hot Glue Gun //
 STEP 1:
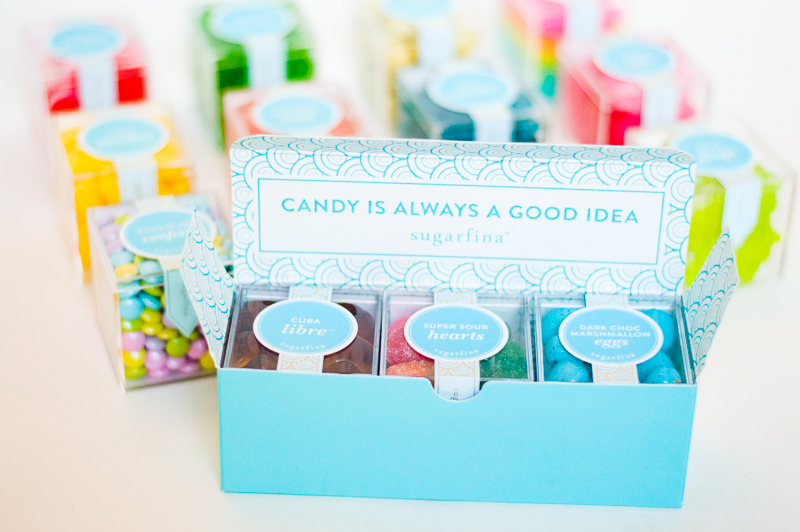
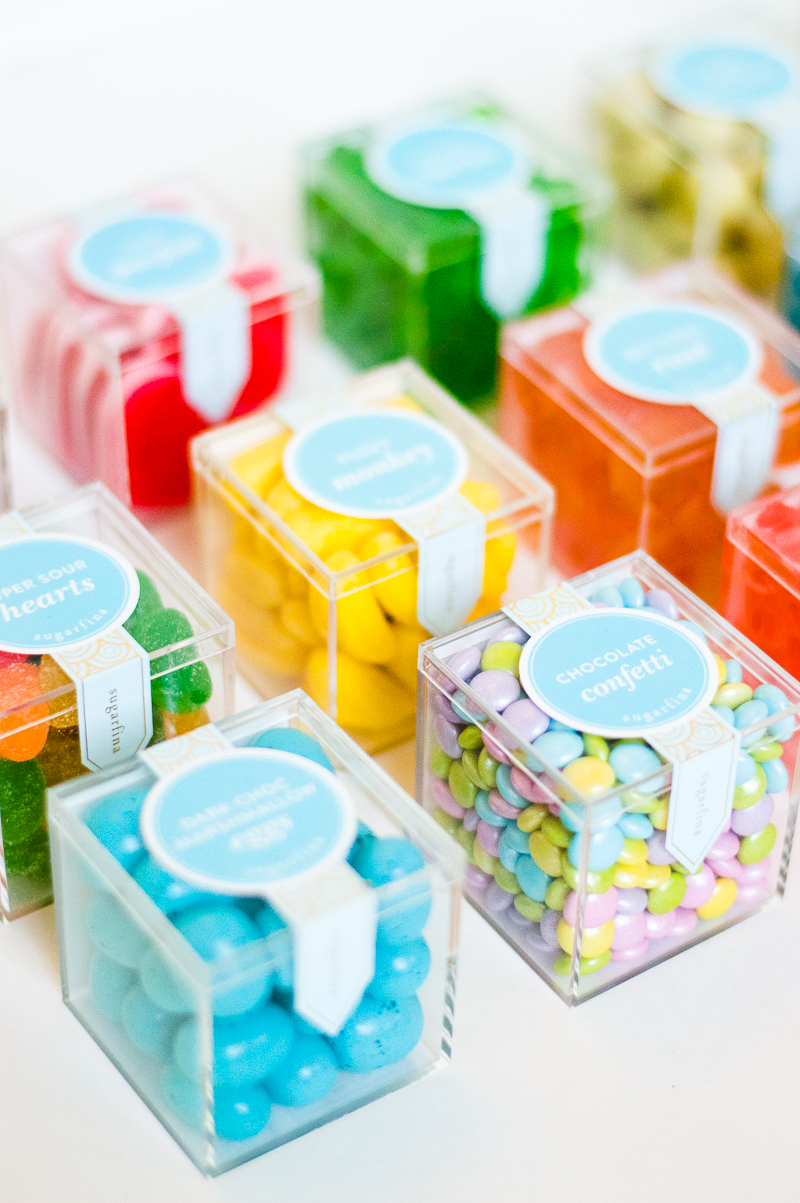
Gather your supplies from your local craft store and order the most colourful and tasty candies from Sugarfina.
STEP 2:
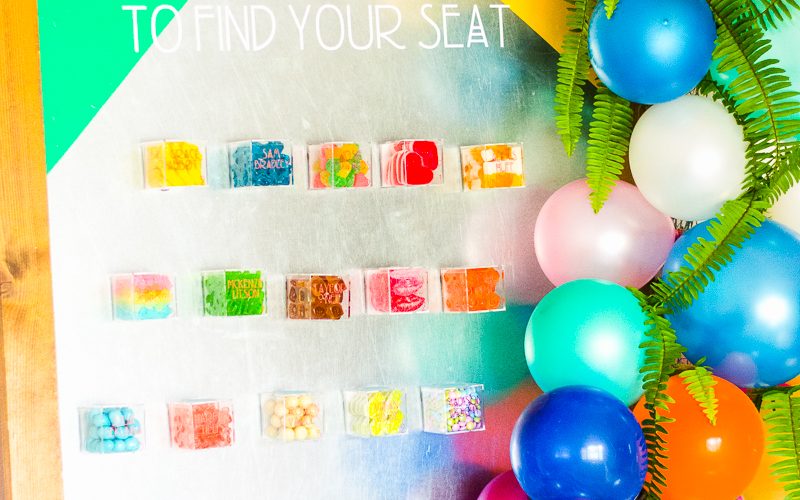
Unpack your candies and lay the acrylic candy boxes out in the order that looks the best to you.
 STEP 3:
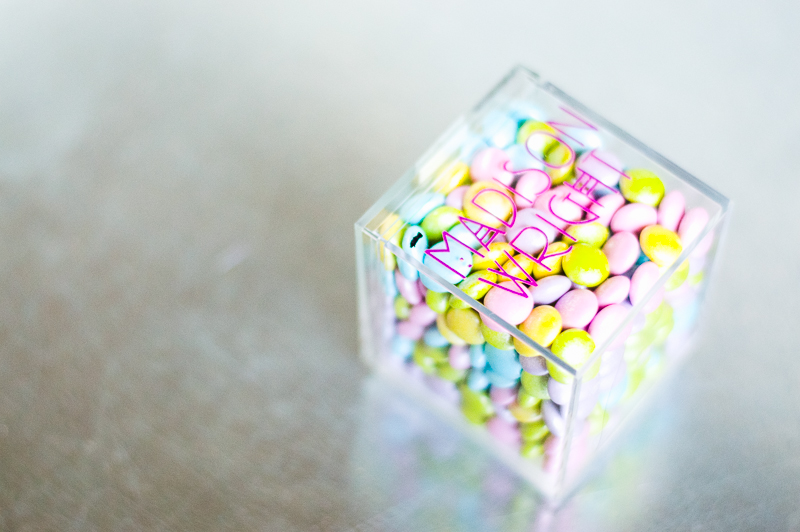
Choose a font that goes with your party theme and type in the names of your guests. Remember to measure your boxes so that the name fits.
STEP 4:
Load your Cricut Maker with the holographic vinyl and begin to cut. Once cut, cut into smaller pieces to weed out the negative space easier.
STEP 5:
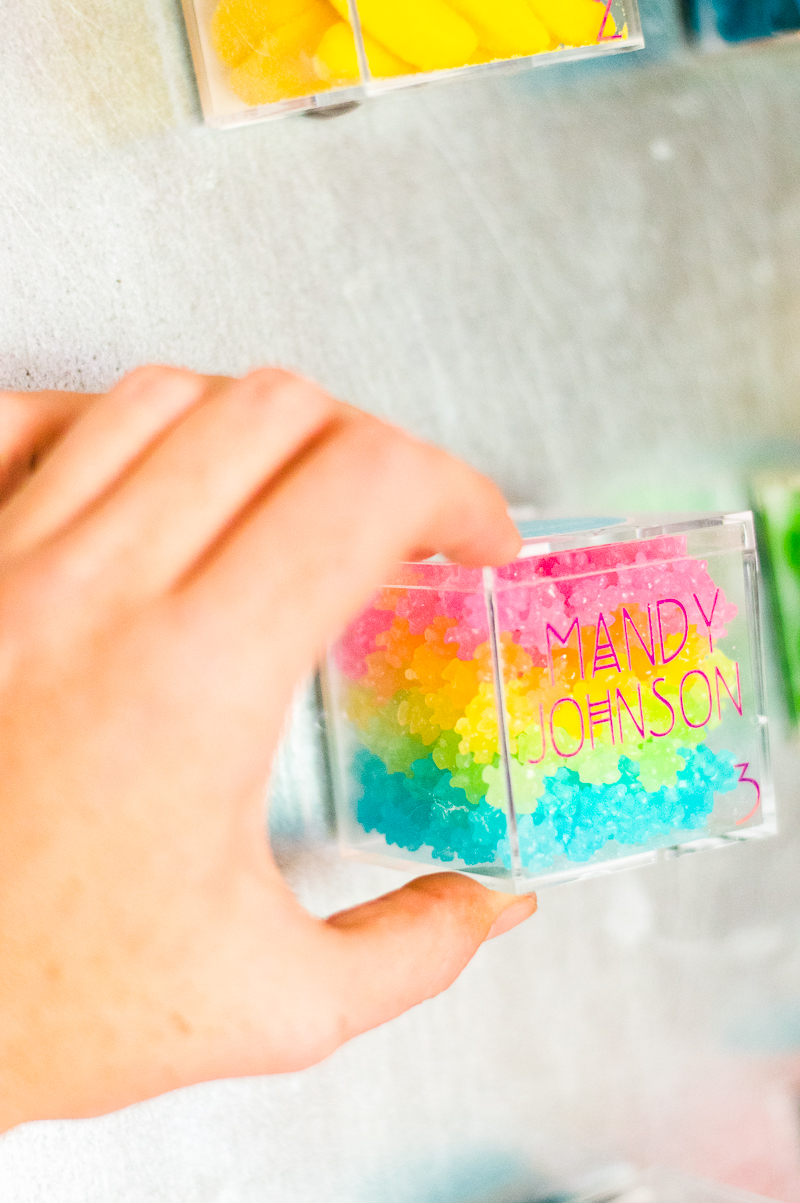
Add your transfer paper to the vinyl and transfer onto your acrylic boxes.
 STEP 6:
Take your magnets and some hot glue and attach to the candy boxes. Let cool and place on your board.
 STEP 7:
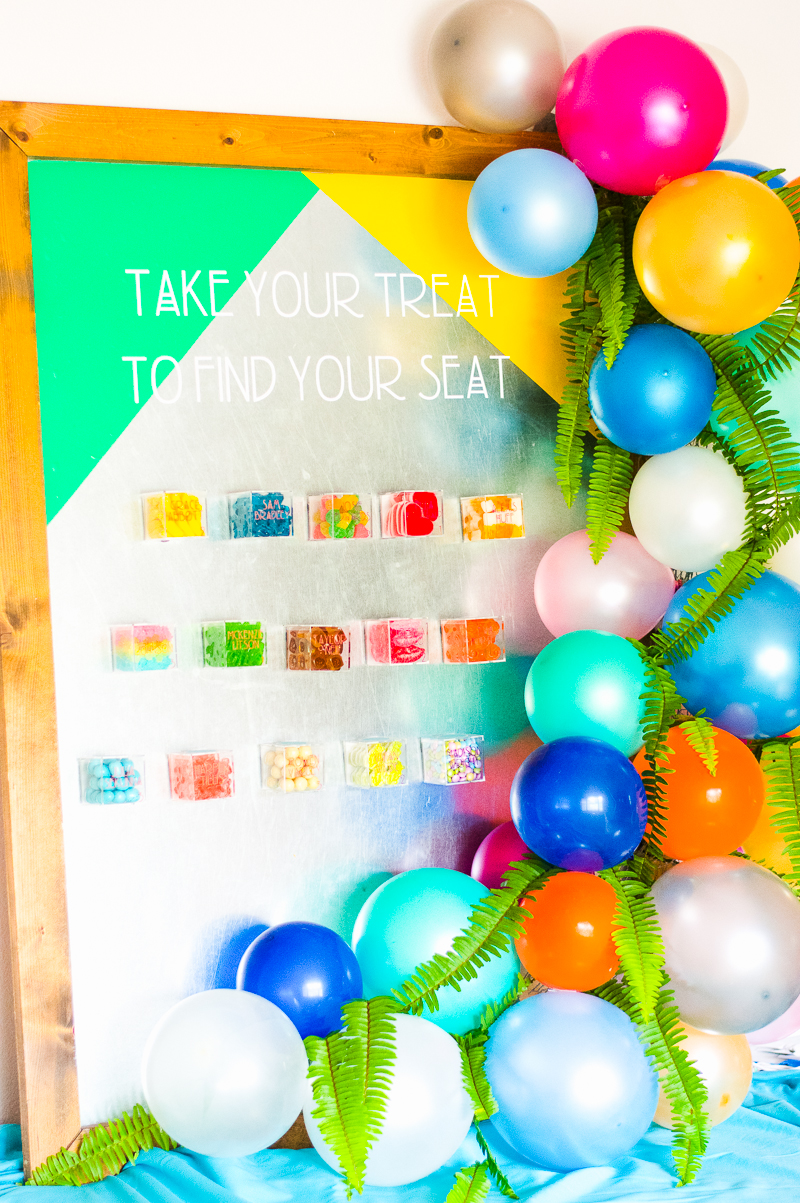
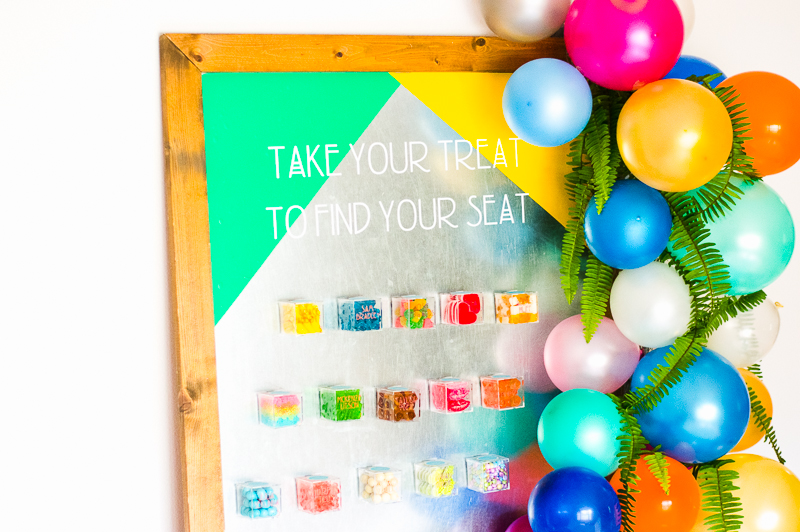
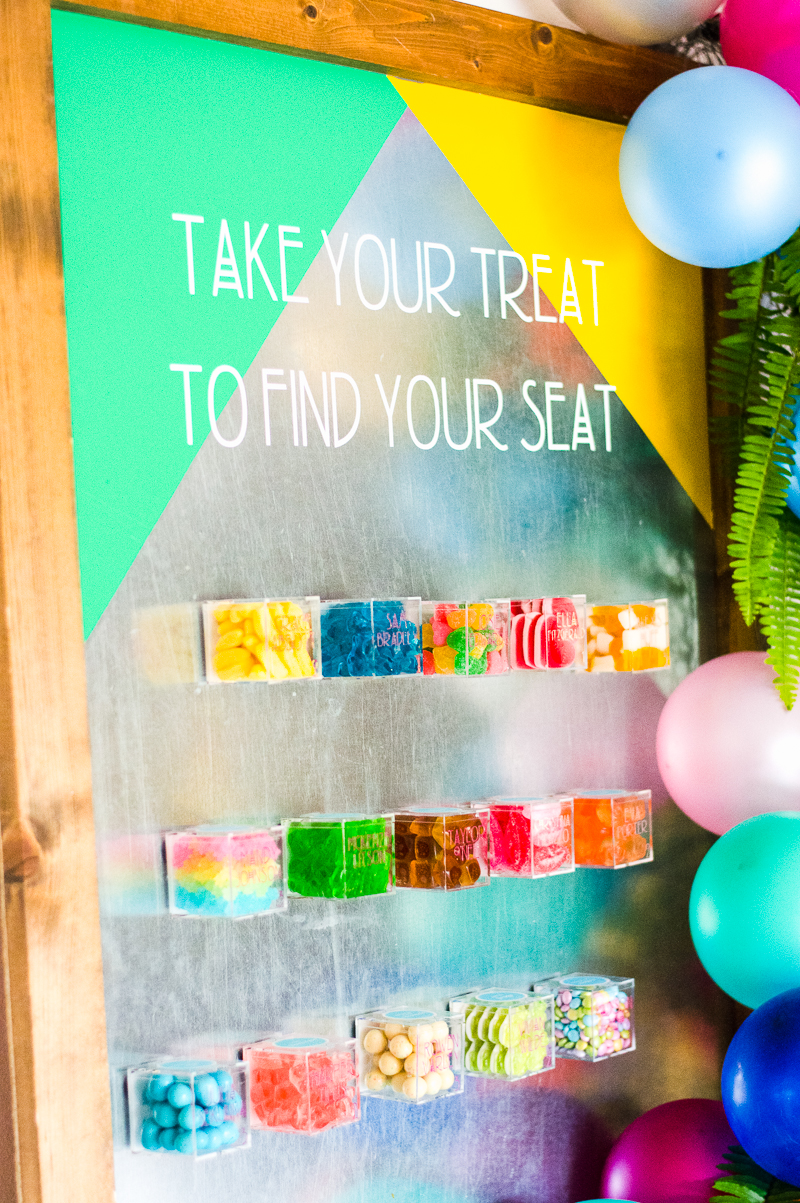
Add a fun and colourful balloon arch to your board to make the candies pop (if you’re not sure how then click here!). Use the same font as you did on your boxes to place on your board explaining the display.
 So what do you guys think!? Don’t forget you can check out more of Kristen’s DIYs over on her blog, A Girl and Her Glitter and be sure to follow her on instagram too! Happy crafting ya’ll! xx


Add comment